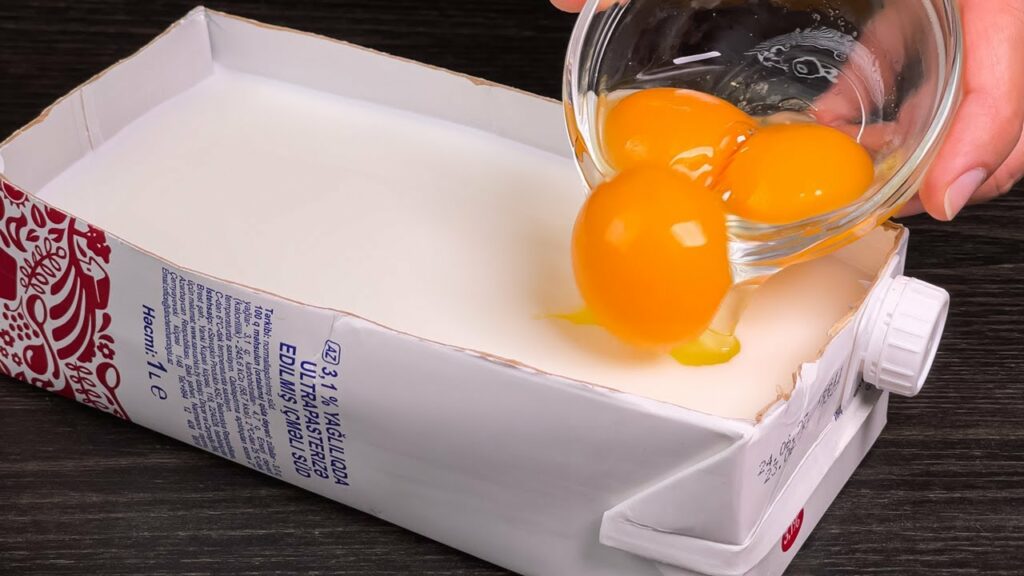
Have you ever thought about reusing your empty milk cartons instead of throwing them away? With a bit of creativity, these versatile containers can be incredibly useful around the house. One great way to repurpose a milk carton is by using it to make homemade soap. This easy recipe not only gives you a fantastic product but also helps you reduce waste. Here’s how you can turn your old milk carton into a mold for crafting homemade soap, saving you a trip to the store and giving you a fun, practical project.
Benefits of Homemade Soap
Making your own soap allows you to control the ingredients, avoiding the chemicals and preservatives often found in commercial products. It’s also a rewarding project that can make a lovely gift or a personal treat for yourself. Plus, using a milk carton as a mold is an excellent way to recycle and be more eco-friendly.
What You’ll Need
- Empty Milk Carton: Make sure it’s clean and dry.
- Soap Base: You can use glycerin or any other melt-and-pour base available at craft stores.
- Essential Oils: Choose your favorite scents.
- Additives: Consider dried herbs, oatmeal, or coffee grounds for exfoliation.
- Microwave or Double Boiler
- Spoon or Stirring Stick
Instructions
1. Prepare the Milk Carton: Cut the top off the milk carton to make it easy to pour in the soap mixture. If the carton is a bit flimsy, you might reinforce it with some tape on the outside to make sure it holds its shape when filled.
2. Melt the Soap Base: Chop the soap base into small pieces and melt it gently using a microwave or a double boiler. If using a microwave, heat the base in short intervals, stirring in between, until fully melted.
3. Add Scents and Extras: Once the soap base is melted, add a few drops of your chosen essential oils. You can also add other natural ingredients like oatmeal or dried lavender for added texture and properties.
4. Pour into the Carton: Carefully pour the melted soap mixture into the prepared milk carton. Tap the carton gently on the counter to make sure there are no air bubbles and the mixture is even.
5. Let It Set: Allow the soap to cool and harden for several hours or overnight. Place it in a cool, dry place to ensure it sets properly.
6. Remove and Slice: Once the soap is set, tear away the milk carton and slice the soap into bars. A sharp knife or a string can be used to cut it smoothly.
Conclusion
By reusing your milk carton in this creative way, not only do you get to try your hand at the simple art of soap making, but you also contribute to reducing waste. Homemade soap is gentle on the skin, customizable with your favorite ingredients, and a delightful addition to your bathroom or kitchen. Give this project a try and enjoy the satisfaction of making something useful and beautiful from something as ordinary as a milk carton!